07 / Shopping flow
Cart, checkout & customer accounts
Keep native WooCommerce behavior while customizing the store’s presentation.
Assign the commerce pages
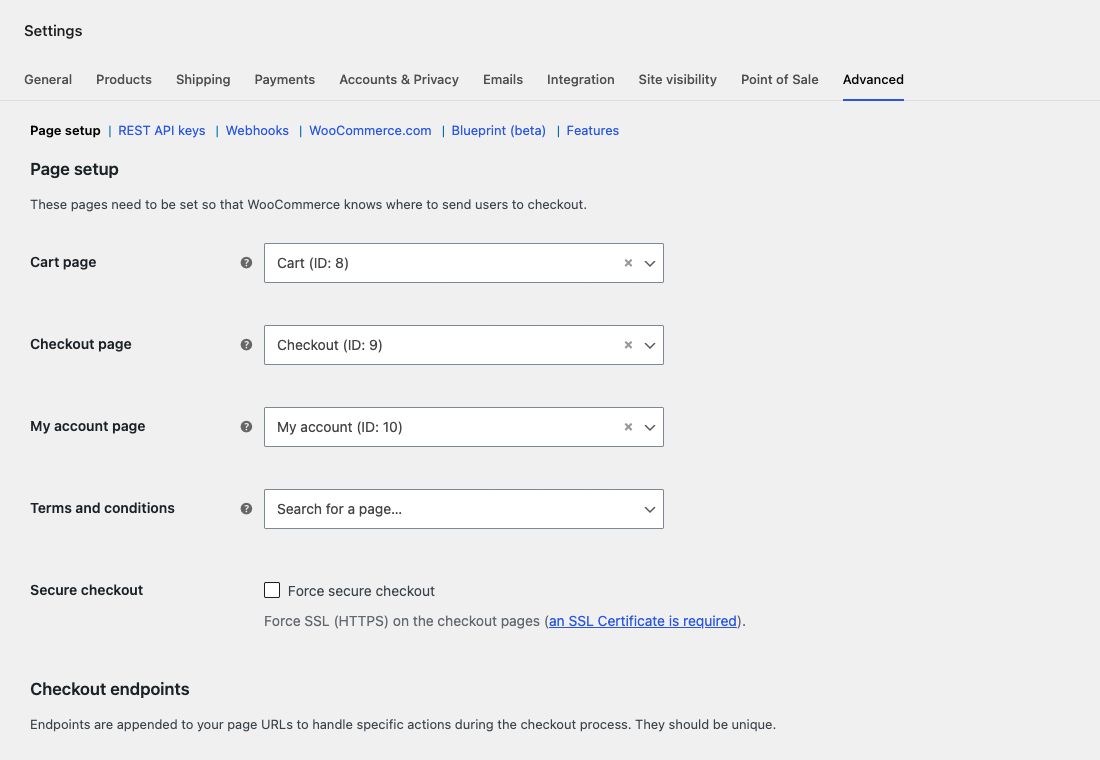
In WooCommerce → Settings → Advanced, confirm the Cart, Checkout and My Account assignments. Use the native Cart and Checkout blocks on their corresponding pages. The My Account page uses WooCommerce’s native account output. Purlia’s page layouts provide matching headings and help sections around that content.
Cart drawer and AJAX add to cart
Standard simple and variable product forms progressively add through WooCommerce without a full page reload and open its native cart drawer after success. Quantities, stock and variations are validated by WooCommerce. Grouped/external products and forms with extra extension fields retain their native submission path; normal form submission remains when JavaScript is unavailable.
- Find the Mini Cart template part in the Site Editor. Depending on the WooCommerce version, it may appear among Template Parts or through the Mini Cart editing controls.
- Edit its title, introduction, empty-state content and native button labels. Retain the native products and footer blocks.
- On staging, add an item, change its quantity, remove it and check the empty drawer. Confirm totals before proceeding to Checkout.
Configure shipping and match your announcement
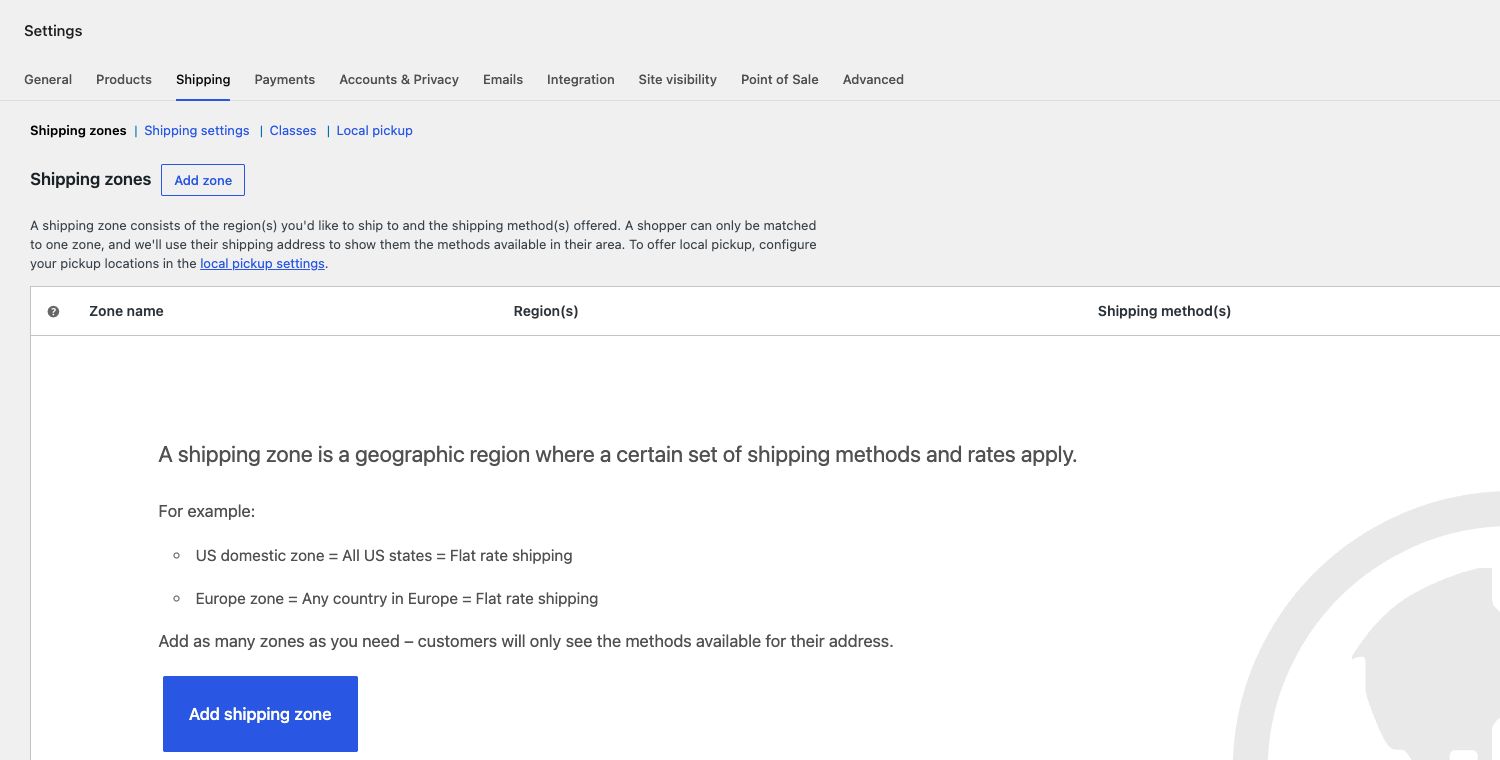
For physical items, configure WooCommerce → Settings → Shipping. Create zones for the regions you serve, add methods and test an address in each zone. Customers receive the methods for their matching zone. Check that physical products are not accidentally marked Virtual.
If your header advertises free shipping over a threshold, configure the corresponding WooCommerce rule. The announcement is editable text and does not activate that offer. Update Shipping & Returns copy to match the actual rates and regions.
Further reading: WooCommerce shipping zones.
Tax, payment and coupons
- Set the store address, currency and units in WooCommerce; configure tax according to your store’s requirements.
- Configure a payment gateway under WooCommerce settings and use that gateway’s sandbox/test instructions. The theme does not provide payment credentials.
- Create coupons in WooCommerce’s Coupons screen, often under Marketing → Coupons. Test an eligible and an ineligible basket.
- Check totals after a shipping address, coupon or quantity changes. Keep dynamic commerce pages and cart API responses out of full-page caching.
Login, registration and recovery
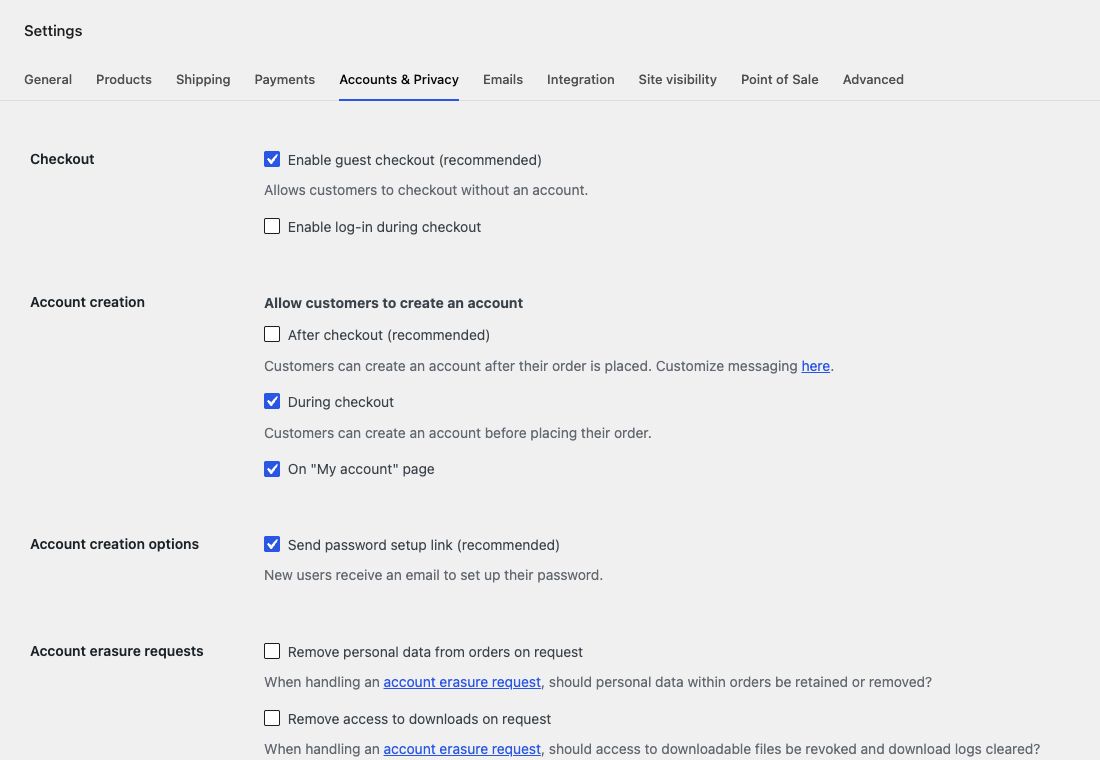
Enable registration in WooCommerce → Settings → Accounts & Privacy if you want the Register form. Purlia styles login, registration, lost/reset password and account endpoints. Changing the welcome or dashboard image uses their named template parts; see Images & Media Library.
Test password recovery with an account and email address you control. Email delivery is provided by WordPress/WooCommerce and your email setup, not by theme styling. Test the password visibility button with the keyboard as well as the mouse.
Order received and order tracking
The Order received screen uses WooCommerce’s order-confirmation flow and access checks. Review it after a sandbox order; do not link publicly to a real customer’s receipt. The Order Tracking page uses the native order ID and billing email verification. Wrong details should not expose another order. The form reports WooCommerce order status; live carrier scans require a separately configured tracking integration.